Some devices announce themselves the moment you pick them up. The Revopoint MIRACO Plus was one of those. Within the first few minutes of holding it, I could tell this wasn’t just another scanner with a new coat of paint. It felt purposeful — compact, self-contained, and clearly built around a different philosophy than most tools in this space. After several weeks of putting it through its paces with everything from tiny collectible figurines to a full-sized acoustic guitar, here’s my honest, unfiltered take on what it can do, where it shines, and where it falls short.
What Exactly Is the MIRACO Plus?
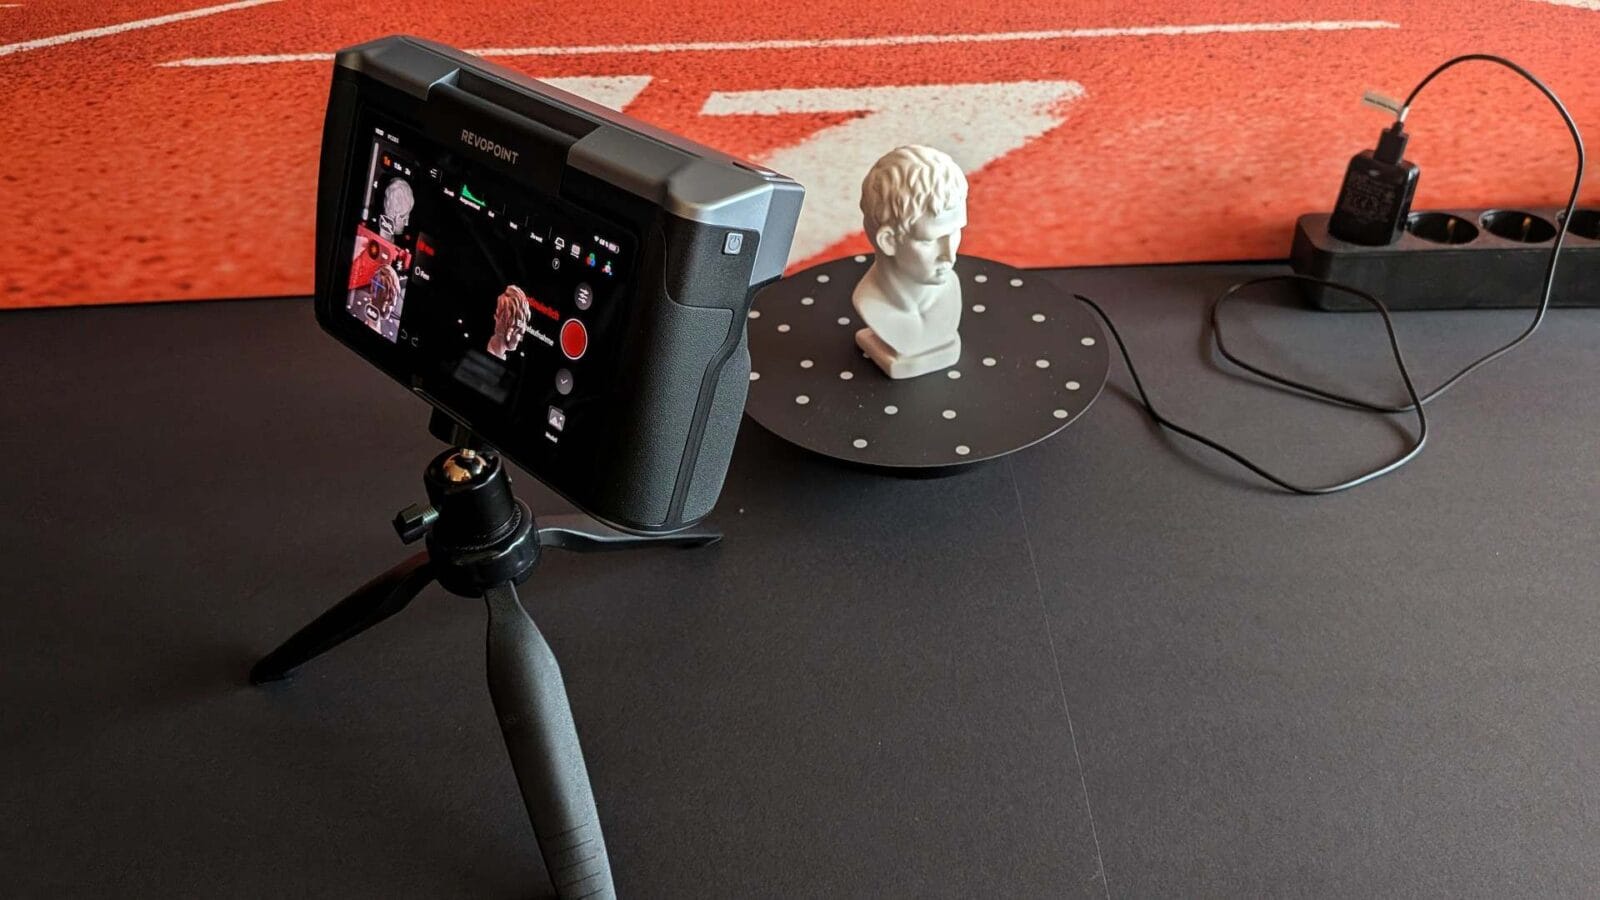
The MIRACO Plus sits at the top of Revopoint’s MIRACO lineup — a Red Dot Design Award-winning series — and its defining characteristic is that it operates as a fully standalone device. No laptop tethering, no smartphone required. Scanning, real-time preview, and even basic post-processing all happen directly on the unit itself.
Revopoint markets it as the world’s first affordable all-in-one 3D scanner with Photogrammetric Metrology Kit (PMK) capabilities. What that actually means in practice — and whether it’s worth caring about — we’ll get into below.
Technical Specs: What You’re Actually Getting
Before diving into real-world results, let’s go over the hardware that makes this thing tick.
Accuracy and Precision
The headline figure here is the single-frame accuracy, which is 20 percent better than the previous MIRACO Pro model. That improvement becomes genuinely noticeable when you’re scanning small, highly detailed objects. The minimum fused point distance sits at 0.05 mm — solid, but worth noting that the Revopoint Mini 2 goes further at 0.02 mm. If your workflow involves scanning micro-scale items like watch components or fine jewelry, the Mini 2 might still be the better call.
For large-format work, the PMK system delivers a photogrammetric length accuracy that keeps dimensional stability consistent even as object size grows — a real advantage over pure structured-light systems when scanning something like a motorcycle or large piece of furniture.
Optics and Camera System
The MIRACO Plus uses a quad depth-camera setup with infrared structured light, paired with a color camera for textured scans. Notably, this is the first model in the MIRACO line to include an optical IR zoom, which focuses the projected infrared pattern and cuts down on noise in fine-detail areas of larger objects.
Scan Modes and Speed
You get two primary modes: Near Mode for small-to-medium objects with intricate detail, and Far Mode for larger subjects including full human body scans. What makes this genuinely useful is the ability to switch modes mid-scan — you can capture the overall shape of a sculpture in Far Mode, then pause, swap to Near Mode, and pick up the fine surface detail without starting over.
Frame rate tops out at a level that’s roughly 33 percent faster than the MIRACO Pro. There are also two capture styles: a streaming mode for fluid, continuous scanning, and a snapshot mode designed for slower, controlled capture in tight or tricky spots.
Onboard Hardware and Display
The internals run on a capable processor with dedicated memory and RAM — enough to handle scan sessions up to 10,000 frames for non-color scans or 8,000 for color. The display is a touchscreen with a 180-degree swivel mechanism that sounds gimmicky but is genuinely practical: it lets you view your scan from almost any angle and even flips around for self-scanning. Connectivity covers Wi-Fi 6 and USB-C 3.1, both of which handle data transfer at a speed that doesn’t make you want to throw things.
Battery Life
A large built-in battery provides up to two hours of continuous use. Fast charging brings it back to 80 percent in just 35 minutes — remarkable for a device of this complexity. Revopoint rates the battery for a minimum five-year lifespan, backed by a two-year warranty.
Form Factor and Build
At approximately 200 × 50 × 110 mm and weighing around 700 grams, the MIRACO Plus is on the larger side for a handheld scanner, but it sits comfortably in one hand and feels premium throughout. Its IP54 rating means it handles light dust and water splashes without complaint.
What’s in the Box
The package is genuinely comprehensive. Along with the scanner itself, you get the full Photogrammetric Metrology Kit: four precision carbon scale bars, and two sets of coded targets — one magnetic and reusable (208 markers), one adhesive for single-use applications. Rounding out the kit: a mini tripod, a small turntable for compact objects, a turntable topper, a patterned test bust for calibration practice, a marker set for extended tracking, a USB-C to HDMI adapter, a close-range calibration board, and a sturdy carry bag that actually looks road-ready. At roughly €2,500 depending on retailer, it’s not cheap — but the value relative to the contents is hard to argue with once you’ve used it.


Setup and Software: Getting Started with Revo Scan
The MIRACO Plus runs on an Android-based OS, similar in concept to DJI’s drone controllers. The on-device software is logically laid out and mostly self-explanatory. After powering up for the first time, calibration using the included boards is the recommended first step — and thanks to a firmware update from January 2025, this can now be done entirely on the device rather than requiring a computer, which is a significant quality-of-life improvement.
For post-processing on a desktop, Revo Scan 6 is available as a free download for Windows (10 or later, 64-bit) and macOS (11 and above). The PC requirements are no joke: Revopoint recommends at least a 12th-gen Intel Core i7 with 16 GB of RAM for smooth processing. Machines that fall short will feel it during mesh generation.
My workflow quickly settled into a rhythm: scan on the device, check the point cloud on the display, transfer via Wi-Fi 6 or USB-C, then build and refine the mesh in Revo Scan 6 on my desktop before exporting. For Blender work, OBJ and PLY are the formats to reach for — they carry texture data cleanly. STL goes straight to the 3D printer.
Real-World Testing: From First Scan to Finished File
Starting with the Test Bust


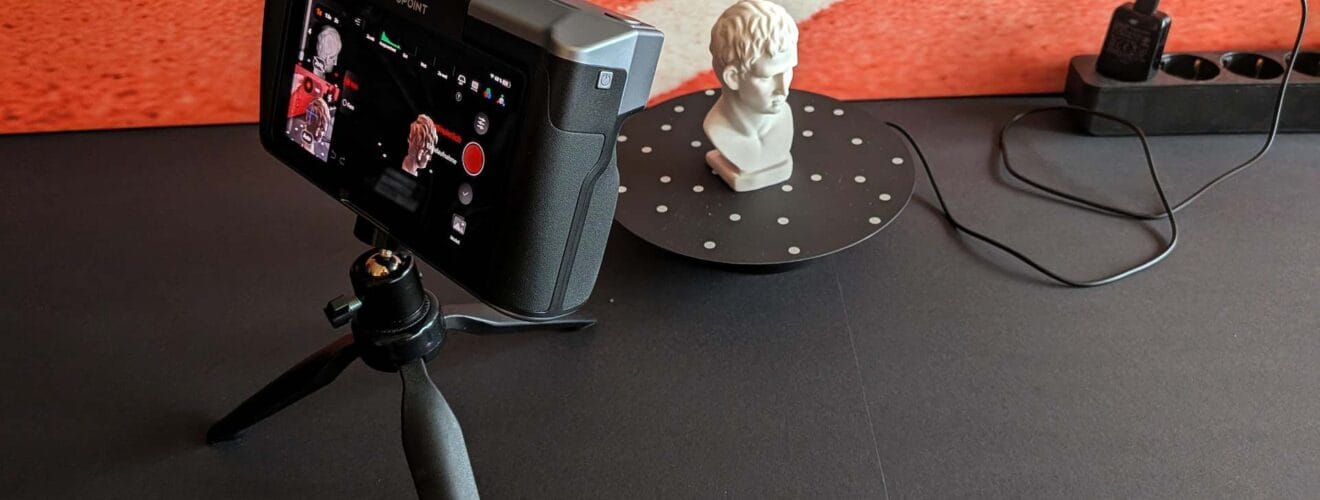
Every new scanner owner has to start somewhere, and the included patterned bust is purpose-built for exactly this. Its surface is covered with geometric features that give the scanner reliable tracking anchors from the start. My first scan took about 60 seconds on the turntable — and the resulting point cloud on the display was impressively clean. Flat surfaces were smooth, detail areas were sharp. A strong opening.
The on-device mesh processing handled the bust without complaint. For smaller jobs, I genuinely didn’t need to reach for the PC. For heavier sessions with tens of thousands of frames, offloading to the desktop is the smarter move.
Figures and Collectibles: Where the MIRACO Plus Earns Its Reputation
Next came a variety of detailed figurines and painted tabletop miniatures. This is where Near Mode and the 2x optical zoom combination really delivers. Fine engravings, narrow blade edges, and detailed facial features — all captured with enough fidelity to be useful. The 9-axis IMU sensor kept tracking stable even in moments when visual feature tracking momentarily struggled.


One note that applies to any infrared structured light scanner: shiny or transparent surfaces are a recurring obstacle. High-gloss paint, chrome finishes, and clear glass don’t cooperate with IR. The solution is scan spray — AESUB or comparable sublimating products work well. They leave a temporary matte coating that vanishes on its own after a while, leaving no residue.
Dark and Featureless Surfaces
Matte black is the natural enemy of IR scanning. The light simply gets absorbed rather than reflected. I tested this on a black plastic housing and a dark clay figure: without spray, both were essentially unscannable; with spray, the results were excellent. The rule is simple — either adjust your expectations for dark objects, or grab the can.
Direct sunlight is the other major constraint. IR structured light scanners compete against the infrared component of sunlight, which wreaks havoc on tracking. Indoor use or scanning in diffuse shade solves this cleanly.
The Big Challenge: Scanning a Full Guitar
One of the most demanding tests I ran was scanning a full acoustic guitar — over a meter long, with a complex mix of curved surfaces, inlays, and structural geometry. This is exactly the kind of job the Far Mode and PMK system were designed for.
I started without PMK, simply walking slowly around the guitar as it sat on a chair. The rich wood grain and geometric details gave the scanner enough to work with, and the tracking stayed stable. The resulting point cloud captured the guitar’s overall form convincingly. For a truly dimensionally accurate model — the kind you’d use to reproduce a part or use as a Blender reference — I followed up with the full PMK workflow.
The PMK process takes more setup: adhesive coded targets go on and around the object, at least two of the four carbon scale bars get placed non-parallel to each other, then you take at least 30 photos from varied angles and heights ensuring enough markers are visible in every frame, before the actual scan begins. Revopoint’s tutorial videos are genuinely helpful here. It’s a learning curve, but what comes out the other side is a metrically accurate 3D copy of the guitar. I used the resulting mesh as a reference for a stylized low-poly model in Blender — exactly the kind of workflow where this scanner earns its keep.

Everyday Objects and Replacement Parts
Beyond the showcase items, I also tested broken replacement parts, an old camera, and assorted kitchen tools. Anything with decent geometry and a non-extreme surface finish scans fast and easily. Results go from scanner to print-ready STL in a matter of minutes — the scan-to-print use case is where the MIRACO Plus is arguably at its most practical.

Post-Processing: Revo Scan 6, Blender, and the Print Workflow
Revo Scan 6 handles the full pipeline: capturing point clouds, cleaning up noise, generating meshes, applying textures, and exporting. The interface is clearly organized, though some functions — particularly point cloud cleaning and multi-scan merging — take a bit of time to learn properly. Don’t expect zero onboarding time.
Importing into Blender via OBJ or PLY with texture data tends to arrive in good shape. Common cleanup tasks include closing holes on undersides that weren’t accessible during scanning, smoothing rougher patches, and retopologizing for animation-ready geometry. For reverse engineering workflows — using a scanned object as the basis for a modified or improved 3D model — the time savings are substantial.
For direct 3D printing, STL and 3MF exports work seamlessly. Organic shapes and complex mechanical parts that would take hours to model from scratch can go from real-world object to print bed in a fraction of the time.
Who Is This Scanner Actually For?
The MIRACO Plus is not a beginner’s tool. At around €2,500, it’s aimed at professional users and serious hobbyists: product designers, reverse engineers, ambitious makers, high-production cosplayers, artists, and 3D printing enthusiasts who need to digitize real-world objects and actually do something with the data.
Compared to the standard MIRACO, the Plus brings 20 percent better accuracy, roughly 33 percent faster scanning, the optical IR zoom, and the exclusive PMK system. If your work stays in the small-to-medium object range with no metrology requirements, the standard MIRACO might do the job at a lower price point. If you need to scan large objects accurately or push for maximum detail, the Plus is the right answer.
Honest Weaknesses
No device gets a free pass, and the MIRACO Plus has real limitations worth knowing before you buy.
Direct sunlight remains the biggest practical constraint. Outdoor scanning only works reliably in shade or diffuse light — anyone planning heavy outdoor use should factor this in from the start.
Dark and high-gloss surfaces require scan spray. It’s not a dealbreaker, but it adds a step and an ongoing cost to the workflow.
The PMK workflow for large objects is powerful but time-intensive. That’s not really a flaw in the scanner — it’s the nature of accurate large-format work — but the time investment is real, and there’s a learning curve before you can move through it efficiently.
Verdict: Is the Revopoint MIRACO Plus Worth It?
After several weeks of intensive use, my answer is a clear yes — with the caveat that you need to actually use it. The combination of standalone operation, high accuracy, dual scan modes, optical IR zoom, and the PMK system for large-format work makes this one of the most capable all-around scanners available at anything close to this price. The form factor fits in a backpack, and the build quality backs up what the spec sheet promises.
For my own work in Blender and 3D printing, it’s been a genuine workflow accelerator. Scanning replacement parts, creating digital reference models of physical objects, capturing complex geometry for reverse engineering projects — the MIRACO Plus handles all of it with consistent, impressive results. The price is high, but for regular use, it stops feeling like an expense and starts feeling like infrastructure.
If you’re serious about 3D scanning and willing to put in the time to learn the system properly, the Revopoint MIRACO Plus is one of the best standalone scanning experiences the consumer market currently has to offer.
You will find a German-language test and review of the Revopoint MIRACO Plus on Addis Techblog.